|
 Tutorial: Flash Video Player
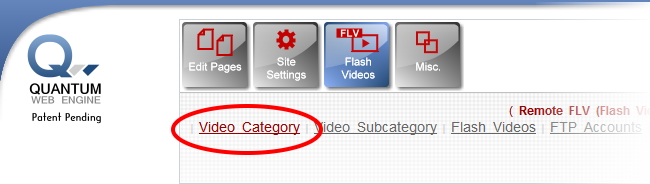
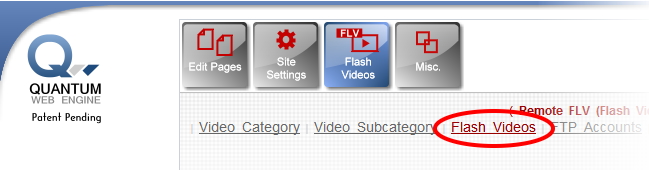
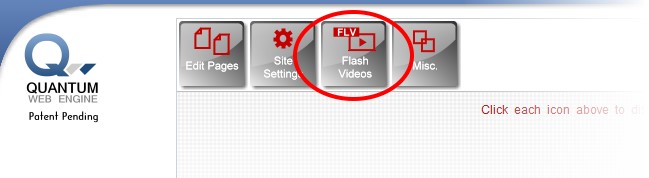
1) Navigate to the Flash Videos module by clicking on the "Flash Videos" icon.
Note: You will notice additional links will appear at the bottom of the screen (Video Category, Video Subcategory, etc.) |
|
|
2) Before adding videos to your website's video player, you will need to create categories and subcategories for the videos. Click on "Video Category" to begin creating your categories. |
 |
|
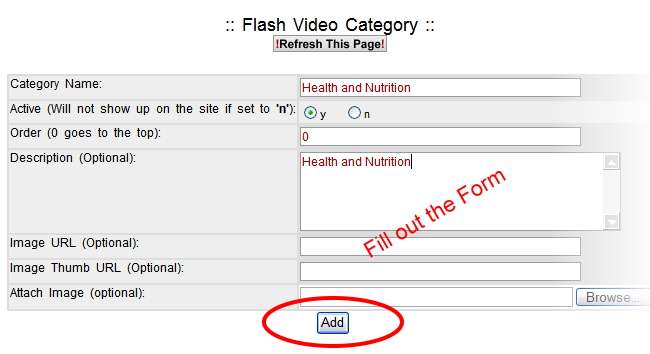
3) Name your "category" and toggle the "Active" setting to "Y". This allows the video to appear on your site. Enter the remaining form fields. You can enter "Description", add an associated image's URL, or browse to attach an image to associate with the category. Once you are satisfied with your entries, click on the "Add" button to add the category.
Note: Scroll down and you will notice the video category has been added at the bottom of your screen.
You can create as many video categories as you like, no limitations.
|
 |
|
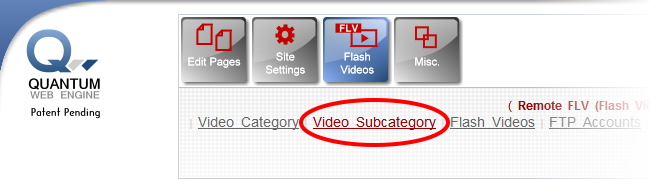
4. Now you are ready to create video subcategories. Click on "Video Subcategory" to begin. |
 |
|
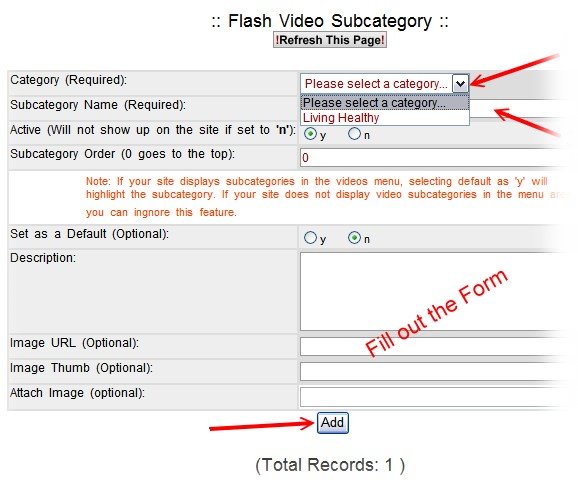
5. Select the "Category" this "Subcategory" should belong to from the drop down menu. Then fill in the "Subcategory Name" field, and fill out the remaining form fields. The "Active" toggle should be set to "Y". You can also enter "Description", add an associated image's URL, or browse to attach an image to associate with the subcategory. Once you are satisfied with your entries, click on the "Add" button to add the subcategory.
Note: Scroll down and you will notice the subcategory is now added to your list. |
 |
|
6) Now that you have created the categories and subcategories, you are ready to upload your video files to the player. Click on the "Flash Videos" link to begin. |
 |
|
7) Select the "Category" and "Subcategory" your video will belong to. Then fill out the rest of the form. You can name your video, provide a description, and leave yourself an internal note.
Select "Y" in the "Active" field to display the video on your site.
Use the "Video Order" field to designate the order you want your videos to appear.
You can also enter "Meta Keywords" such as: “recipe grilled tilapia fish healthy”. (Note: Meta Keywords will affect your site's placement in the search engine results.)
|
 |
|
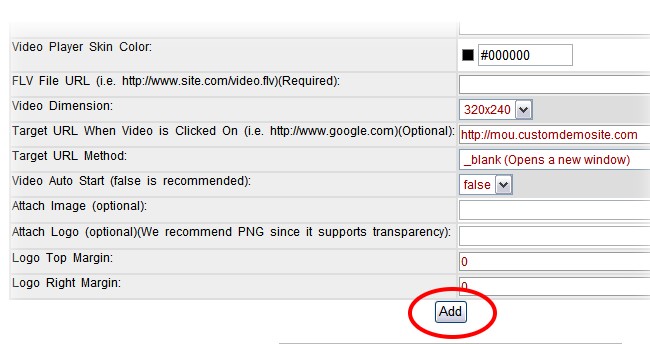
8) Adding the FLV File URLto the Video Player. Simply navigate to your “.flv” file and copy/paste the link in the "FLV File URL" field. You can select from different video dimensions by clicking on drop down menu.
By selecting a Target URL, your video player can act as a button, directing your traffic to a specific site.
The "Video Auto Start" feature provides you the control to auto start your video when someone visits your site, or to provide the viewer the ability to click to play the video.
Once all settings are complete, click on "Add" to save your choices.
Note: You will notice your Flash video will appear at the bottom of the page. |
 |
|
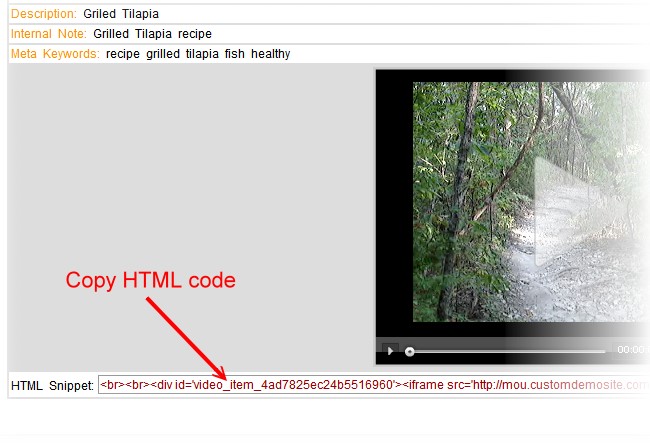
9. Now that your videos are uploaded, just add the snippet of HTML code to publish the video to your webpage(s).
To begin, go to the "Flash Videos" page.
Scroll down to the bottom of the page. You will see a list of your available videos.
At the bottom of each video, we have provide you HTML code snippets for each of your videos. Simply copy the HTML code snippet for the video. |
|
| 10) Navigate to "Edit Page" within the Quantum Admin page. |
 |
|
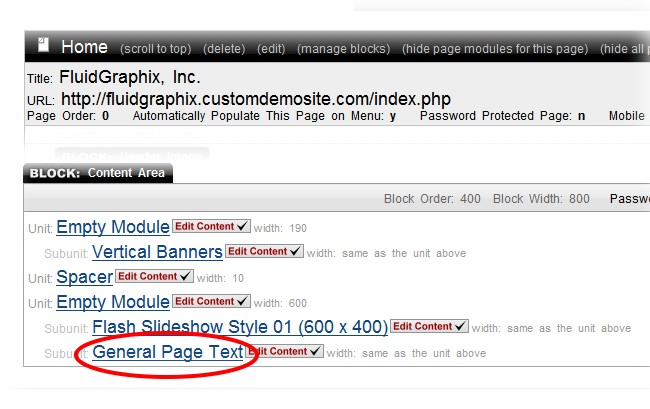
11) Select the web page on which you would like to publish the video.
Then click on the "Text" module to open the page in edit mode. |
 |
|
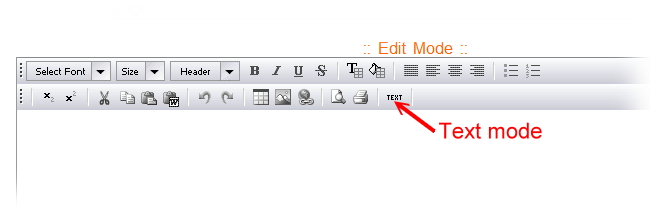
12) Select "Text" mode by making sure the tool bar menu displays "Text".
Note: If the button is displaying "HTML", click on "HTML" to change the setting to "Text". |
 |
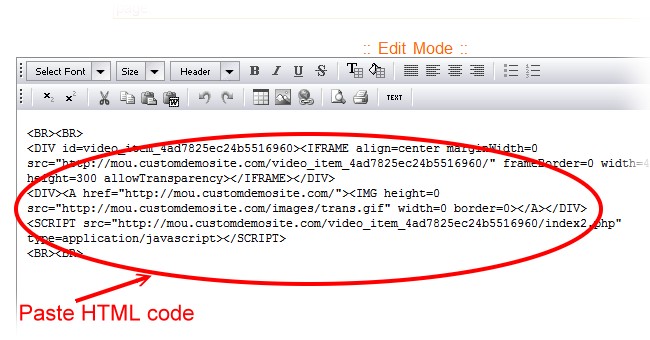
| 13) Paste your HTML code in the HTML Text editor. |
 |
|
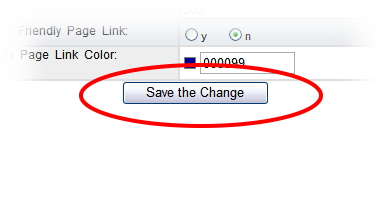
14) Click on the "Save the Change" button.
You now have successfully published your video to the web page.
Note: You can repeat the process to publish the videos at multiple web pages. |
 |
|
|
|
|
|


