Tutorial: E-Commerce Category, Subcategory & Brand
 
 
Create PRODUCT CATEGORY:
 
 
1) Navigate to "E-Commerce" module by clicking on the button.


2) Click on "Product Category" link appear under E-Commerce module.


3) Name your Product Category.
 
4) Activate your product category by selecting "Y".
 
5) Select the product type from the drop down menu.
 
 
Note: You can enter (i) image url and/or thumb image if you already have uploaded the image; or, (ii) You can also attach an image for your category by clicking on Browse... button and select an image.
 
 
6) Click on "Add" button. 


Create PRODUCT SUBCATEGORY:
 
 
1) Select "Product Subcategory" link from E-Commerce module.


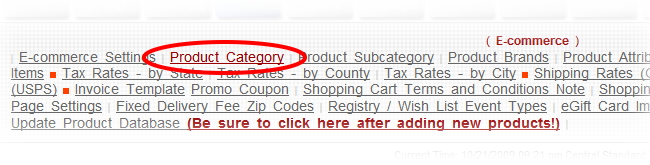
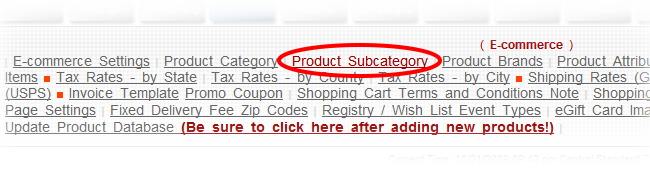
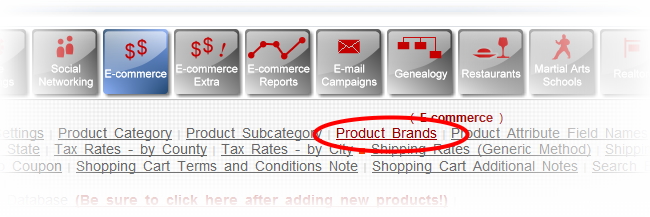
2) Select "Product Category" from the drop down menu
 
 
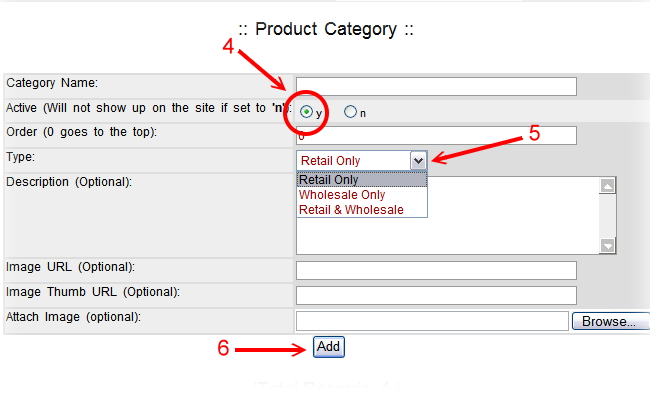
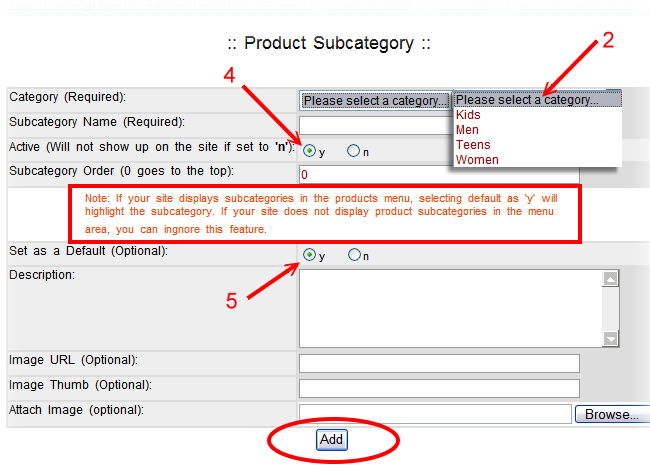
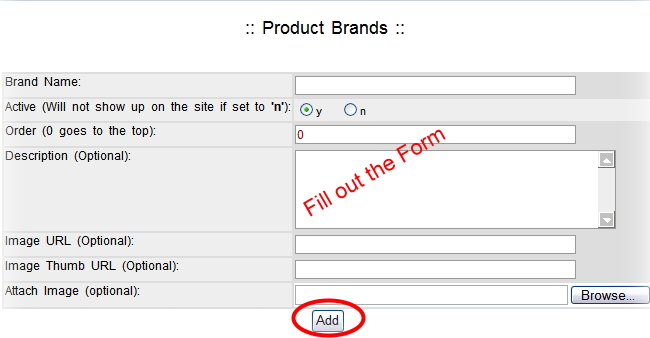
3) Enter "Subcategory Name"

 
4) Activate your product subcategory by selecting "Y".
 
 
5) Select "Y" if your site displays subcategories.
 
Note: You can enter (i) image url and/or thumb image if you already have uploaded the image; or, (ii) You can also attach an image for your subcategory by clicking on Browse... and button select an image.
 
 
6) Click on "Add" button.


Create PRODUCT BRAND:
 
 
1) Select "Product Brand" link from E-Commerce module.


2) Enter "Brand Name"
 
3) Activate your product brand by selecting "Y".
 
4) Enter "Description".
 
Note: You can enter (i) image url and/or thumb image if you already have uploaded the image; or, (ii) You can also attach an image for your brand by clicking on Browse... and button select an image.
 
 
5) Click on "Add" button

Quantum Web Engine
info@quantumwebengine.com
Quantum Internet Systems, Inc.
Web Articles