|
 Tutorial: Custom Forms Generator
|
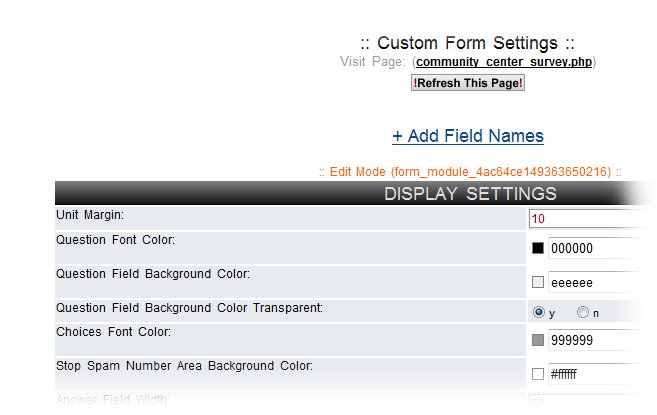
1) Once you have opened the forms module, you can begin to make a custom form by filling out these fields. They relate to the overall appearance and function of your form. Most are self-explanatory.
|
|
|
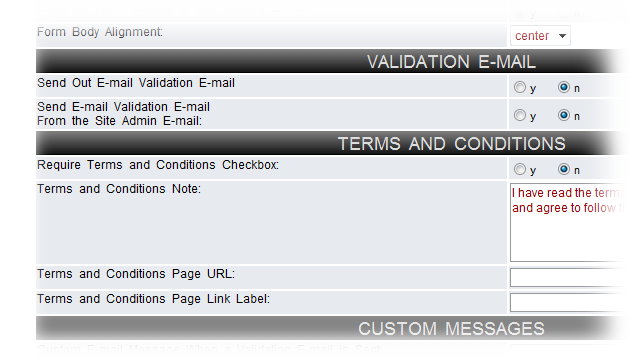
2) As you continue down the form fields, you can opt to send out a validation email. If you want to send a validation email, you can select to send the email validation from the site admin, or not. If you select no, the validation email will be sent from "do_not_reply@..."
A yes response sends the email from "webmaster@..."
Terms and conditions can be inserted as a text field, or you can link the form to direct users to a URL with terms and conditions on it. |
|
|
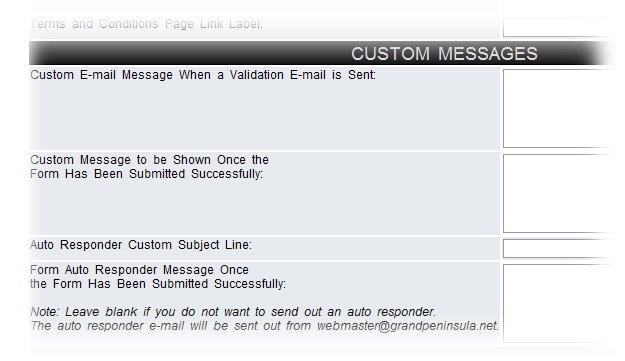
3) These options relate to adding a custom message to your validation emails.
|
|
|
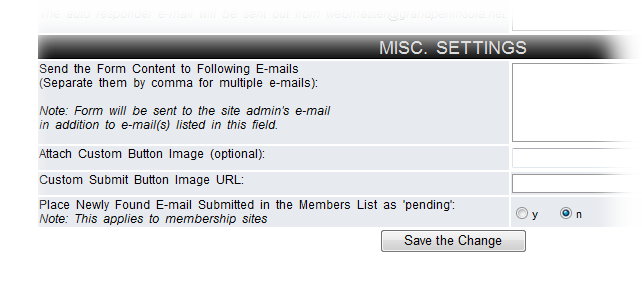
4) Under "Misc Settings", you can enter email addresses you want the form replies to be sent to.
You can also add a custom "submit" button for your form.
If you have a membership site, you can opt to have the form collect newly found emails. This is not applicable if your site is not a membership site.
|
|
|
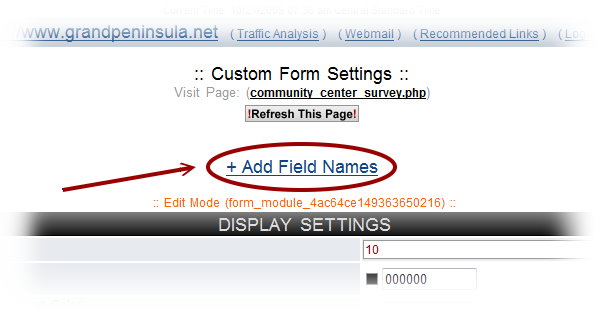
5) Once you have set up the general parameters and appearance of your form, click on the "Add Field Names" link to begin adding your form questions and question types.
|
|
|
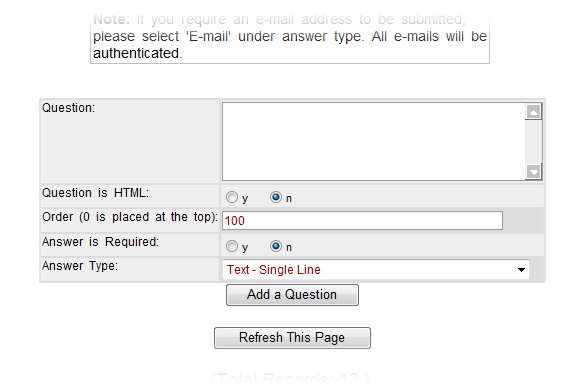
6) Type each question into your "Question" box. You can display the question as plain text or as HTML.
Questions will appear on your form in the order you set, using the "Order" field. Lowest numbered fields appear at the top of the form. If you may want to add fields later, it's a good idea to leave some numbers between questions. For example, start with 100, then 200 and so forth.
Then you will need to set the form to either require an answer to this question or not.
Then set the answer type to the appropriate setting.
|
|
|
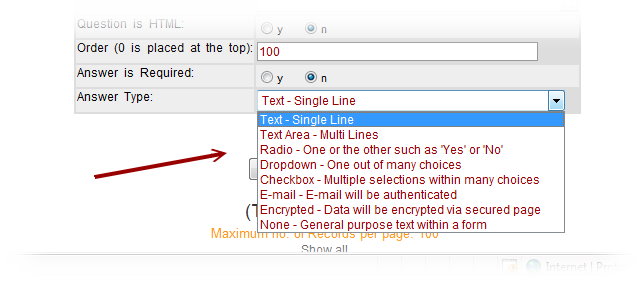
7) Here, you can see the different question types available on the drop down menu.
If you are requiring someone to add their email to the form, then that field should be designated as "E-mail". The software will authenticate the email for you.
|
|
|
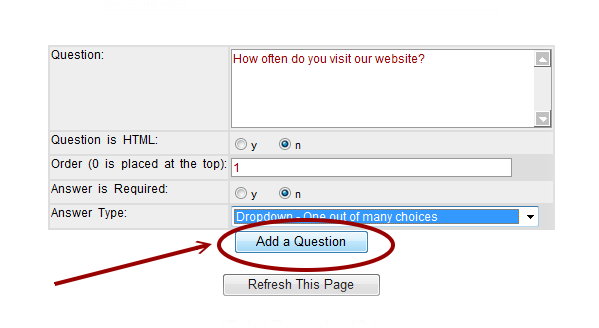
8) Once you have finished the question, click on the "Add a Question" link.
|
|
|
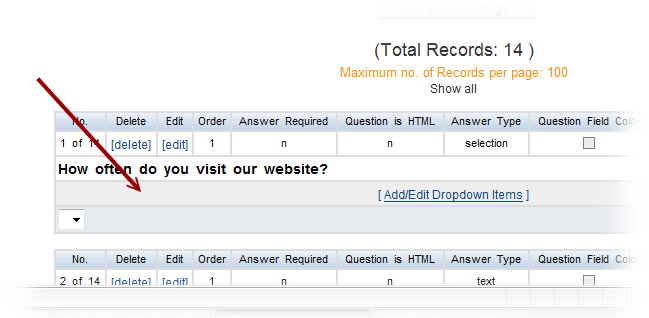
9) The newly added question will now appear at the bottom of your page with all other questions on this form.
|
|
|
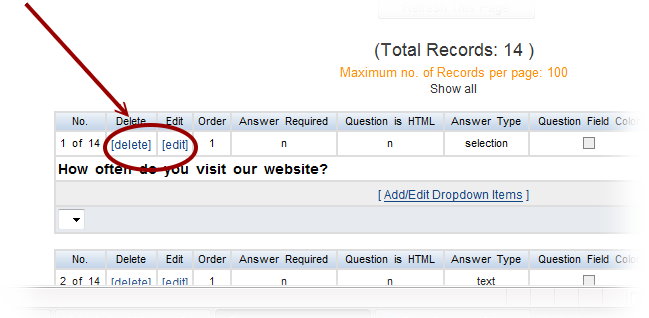
10) To edit or delete a question, just click on the "delete" or "edit" link.
|
|
|
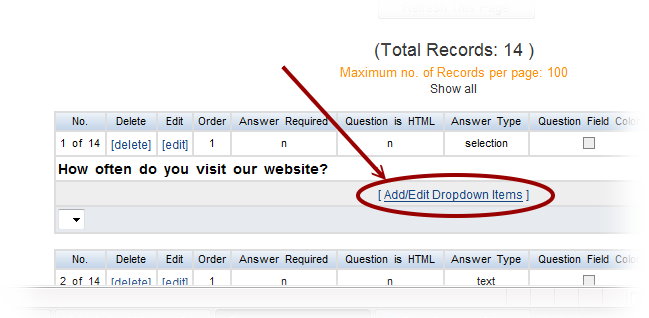
11) Now that your question is saved, it's time to create the possible answers. This is only necessary for certain question types. If you have selected "single text line" for your answer type, you do not need to do this step.
|
|
|
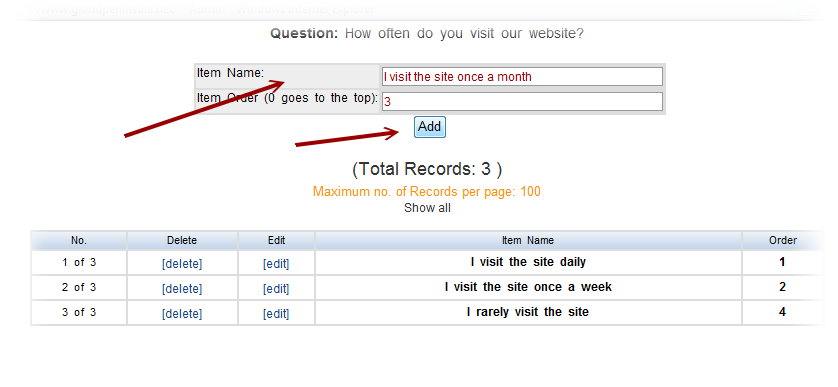
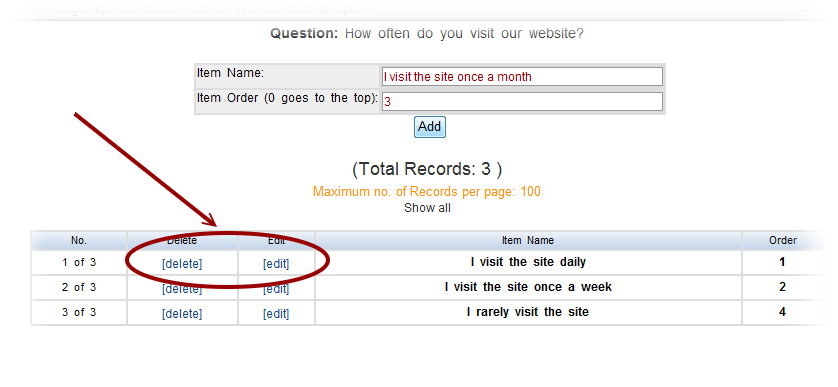
12) You will see the question at the top of the page, with 2 fields below. Type a possible answer into the top field, then set the order you want this answer to appear in in the drop down menu. Click "Add" to save your answer. Repeat this step for each possible answer.
|
|
|
13) To edit or delete a possible answer, click on the "delete" or "edit" link.
|
|
|
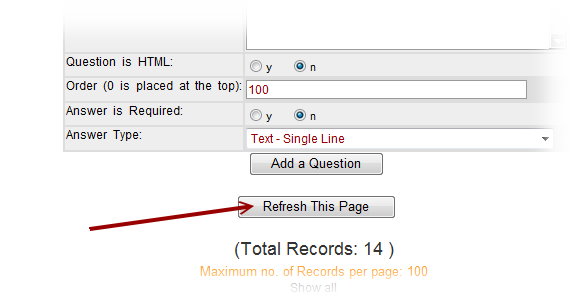
14) When you finish, click on "Refresh this Page" to publish your new form or form changes.
|
|
|
15) Now that you have refreshed the page, you will be able to see your question and all possible answers in the system.
|

|
|
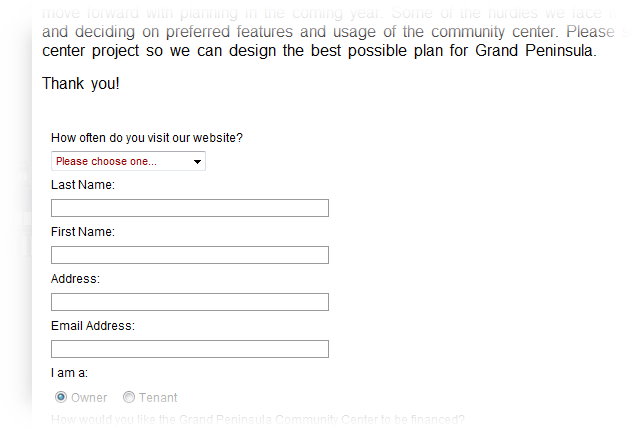
16) Your form will now appear on the webpage!
These replies will be stored in the database and can be easily viewed and exported into spreadsheet programs. For more information on viewing form replies and using the export feature, please visit the "Form Replies and Export Tutorial".
|
|
|
|
|
|
|