Tutorial: Adding a Photo to Your Webpage Using the Text Editor
1. Open the text editor module on the page you want to add the picture to.  


2. Scroll down until you can see the "Manage Files/Photos" link. Click on it to begin adding photos to your file repository.  
 
 
3. Now that your file repository feature is displayed, type in the name you want to call the picture, then you can also add a note about the picture. This note is not visible on the website. It is for your internal use only. 


4. Now you are ready to add the file to the repository. This can be done by either linking a file from a website by using the "File URL" field, OR by browsing on your computer, if the picture is stored on your computer. Only one of these fields is applicable at a time. 


5. In this case, the photo is stored on my computer, so I will use the browse feature to find it. 


6. In this example, the file is stored online at a website URL, so the URL was pasted into the URL field and the browse button is not needed. 


7. Which ever method is used, remember to click on the "Add" button when you have linked to the photo. You have now created a reference URL, where the picture will be stored in your file repository. 


8. Now that your photo has been added to the file repository, you can scroll down and find it on the same page. High-light and copy the new URL. You will need this URL for the next step.
 
Now you are ready to return to the text editor module on the page you want to add the picture to.


9. Once you are back in the text editor, place your cursor at the location at which you want the picture to appear and click. 


10. Then click on the image icon at the tool bar which looks like a photograph of a mountain. This will open a window that allows you to control the attributes of the picture you are adding. 


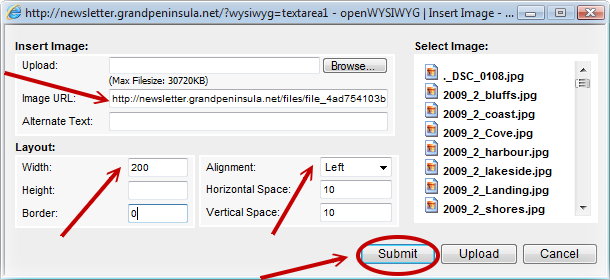
11. In this window, you can see different controls that will be useful to you.
 
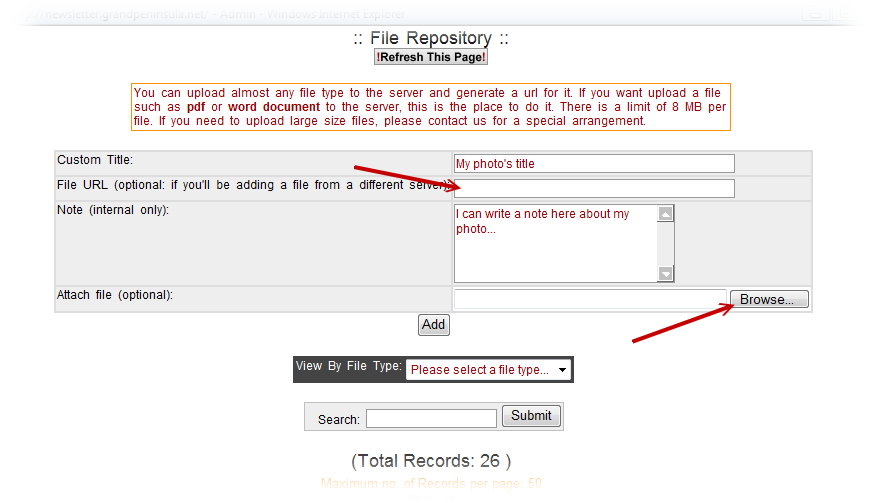
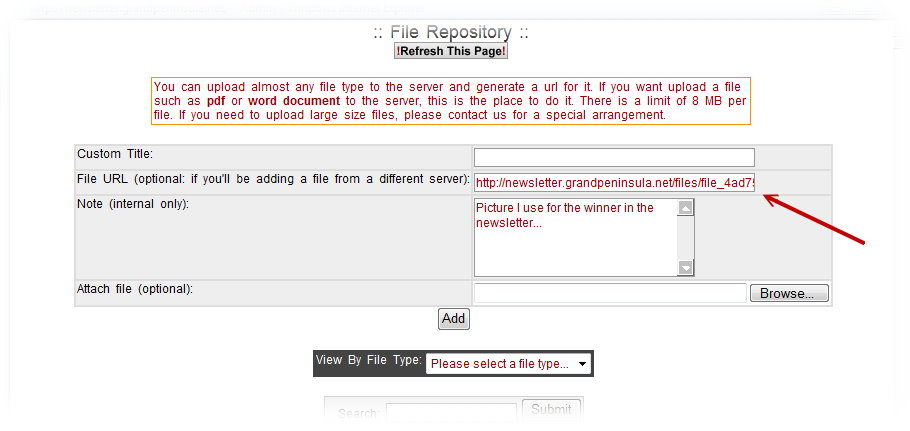
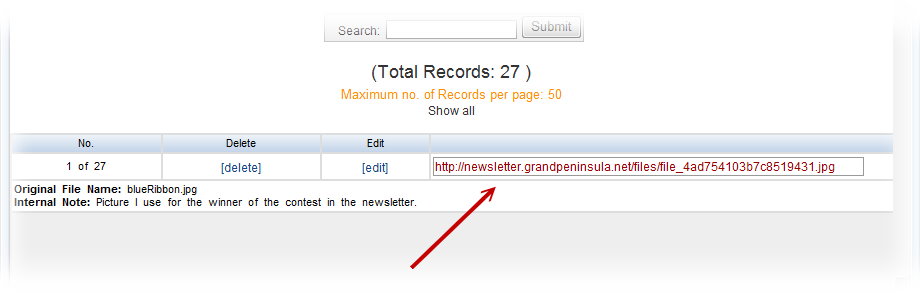
Paste your picture's URL (previously copied from your file repository after you linked or uploaded your photo) into the Image URL field.
 
Then you can specify the dimensions of your image. Remember not to increase the size of a small image, or you will experience very poor image quality. It is best to use only width or height but not both. 
 
Horizontal / Vertical space settings keep text from encroaching on your image. A border can also be added.
 
Set the alignment to left or right if you wish.
 
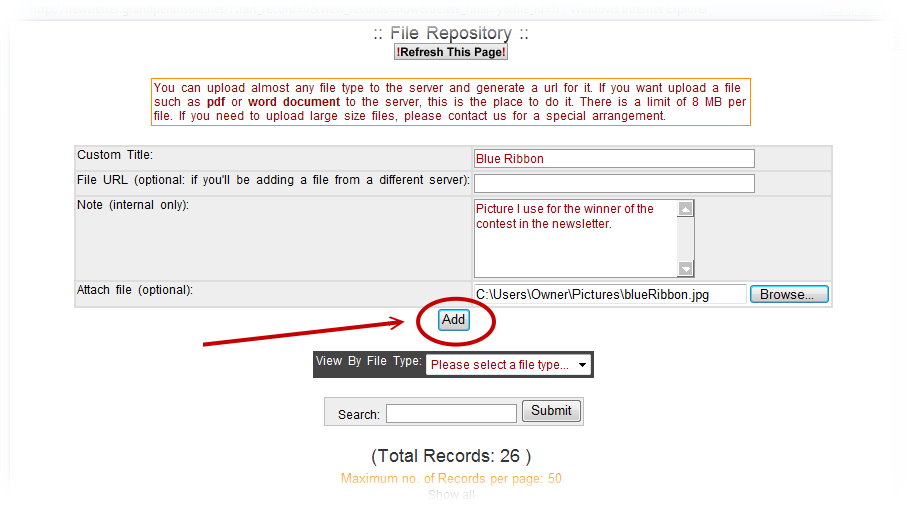
When you are finished setting the image attributes, click on the "Submit" button.


12. Your image will now display in the text editor, and on your web page. To edit or alter the picture, simply click on the image, then click on the photo icon in the toolbar. Edit features are available when the window opens. 


13. Once you are done, remember to scroll to the bottom of the text editor page and "Save the Change". 


Quantum Web Engine
info@quantumwebengine.com
Quantum Internet Systems, Inc.
Web Articles